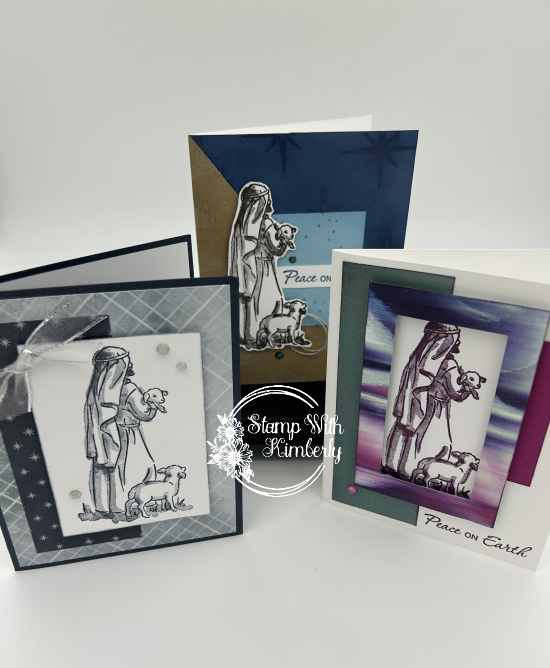
top of page

Kimberly Gora


1.Pacific Point card base 8-1/2" x 5-1/2" fold in half.

2. Glue embossed white 4-1/4" x 5" to card base.

3. Glue blue snowflake DSP 4-1/2" x 2" to left side of card.

4. Glue square snowflake DSP 3" x3" to right side of card, in the middle.

5. Glue snowflake to upper left corner of card.

6. Build Gnome. Nose on beard, then hat, then add pants. Pop dot on card.

7. Stamp sentiment in Pacific Point on white strip 1/2" wide, and pop on card.

Add gems and white inside.


1. Fold card base (Balmy Blue) 8-1/2" x 5-1/2" in half.

2. Add embossed white 5-1/4" x 4 to card front.

3. Glue DSP 4"X3" to Navy Blue c/s 4" x 3-1/4" and attach to card.

4. Stamp sentiment on die cut piece (left side)

and attach to card.

5. Color Gnome, and pop on card with dimentional.

6. Add bow and gems and white piece inside card.


1. Start with a 12" x 9" piece of Designer Paper.

2. Score on the 12" side at 5" and 7".

3. Turn and score on BOTH 9" side at 2".

4. Cut small score lines up to the 2" mark on both sides. Notch tabs for easier folding.

5. Use Tear Tape to assemble bag.

Punch 1 hole in center/top of bag on both sides, for ribbon.

6. Cut out a 2-1/2" circle.

7. Stamp sentiment in Cherry Cobbler.

8. Die cut holly pieces, and berries.

9.Tie a knot in gold ribbon, and attach with glue dot.

10. Run a piece of ribbon thru holes in the top of the bag.

6 views0 comments
  • Facebook
  • Pinterest
  • Instagram
bottom of page